This article contains the steps to setup your zMailCloud account on an Android device using an Exchange/ActiveSync connection.
Exchange/ActiveSync can synchronize mail, calendars and contacts, unlike IMAP, which only syncs email.
⚠️ Have you got 2-step authentication setup? If so, you must first create an application passcode for your device, using the webmail client, in Preferences > Accounts > Account Security, and use that as your password. See: [Multi-Factor Authentication (MFA)](https://admin.cloudiance.com/knowledgebase.php?action=displayarticle&catid=2&id=6)
⚠️ Some Android devices require that you must 1st navigate to the web client using your phone's web broswer and accept the security certificate before setting up your account. If you follow the instructions below, yet still can't connect, please visit our kbase article on adding the certificate.
⚠️ As a precaution, we recommend you back up any and all data on the device before you initiate the following steps.
⚠️ The actual graphics and prompts may change due to differences across Android operating systems and devices, please consider this a general guide.
⚠️ We expect you to use a default mail app, such as Google/Gmail.
⚠️ SAMSUNG phones special instructions. 1. Please open a ticket with Cloudiance and request enabling Samsung Android on your mailbox(es), which may take up to 24 hours. 2. Do not use Samsung Mail. If you have an extisting account setup in Samsung Mail for Cloudiance, delete it prior to setting up your account in the Google/Gmail.
⚠️ Do not use IMAP or POP. These options do not use Push email, nor do they sync calendars and contacts.
⚠️ PUSH. If you are given the option for "push" email during setup, please select it.
From your Android home screen, select the Email/My Accounts icon found under Settings:
Click Add New Account
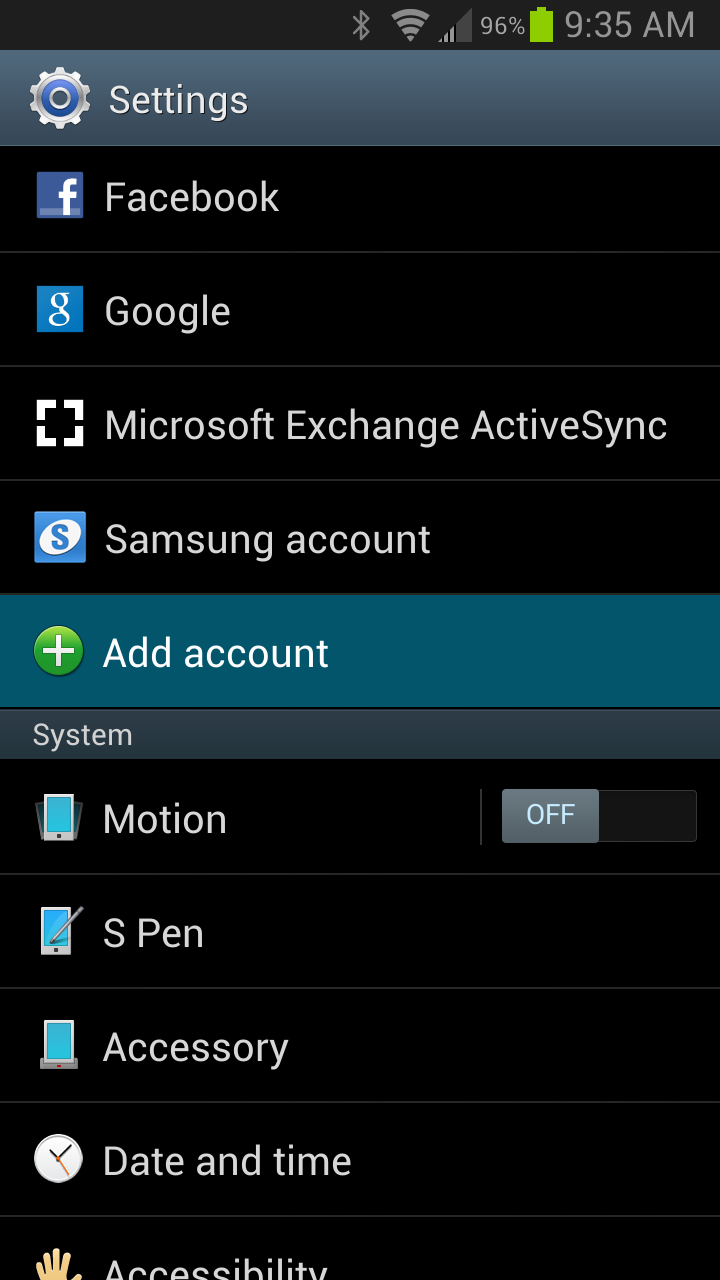
Select Microsoft Exchange ActiveSync as the account type (or Corporate Email).
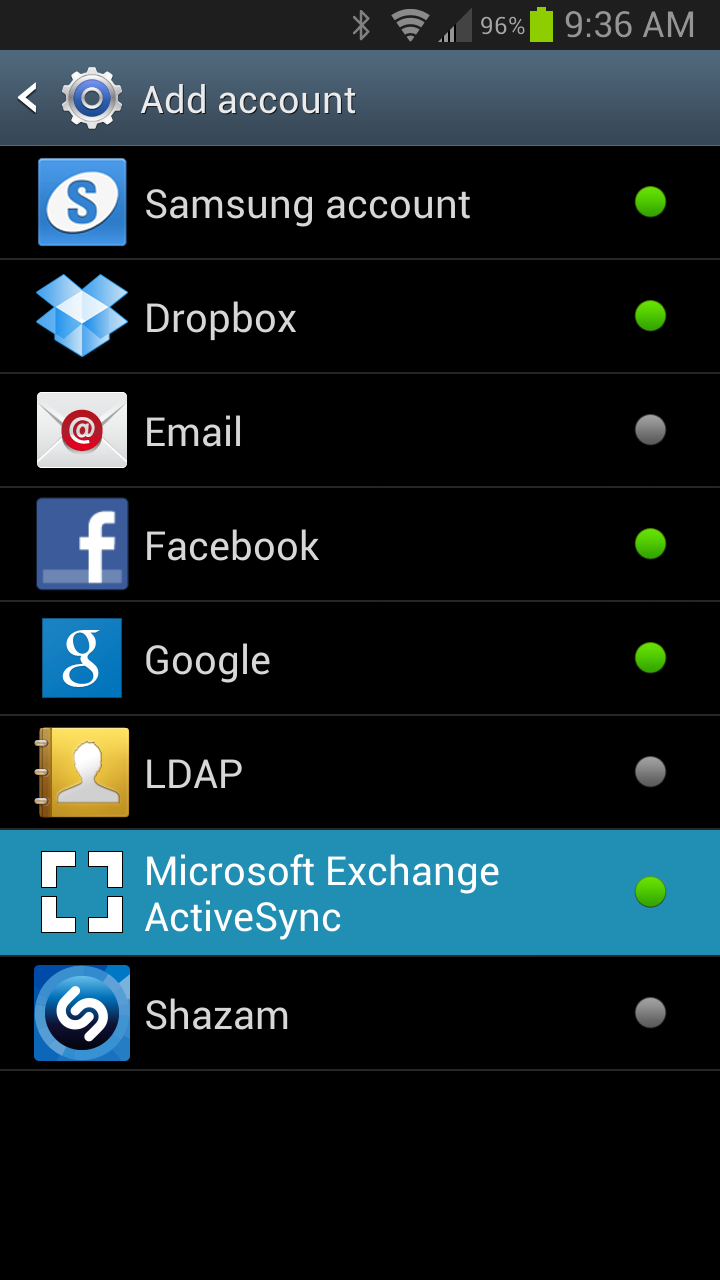
Click 'Manual Setup'
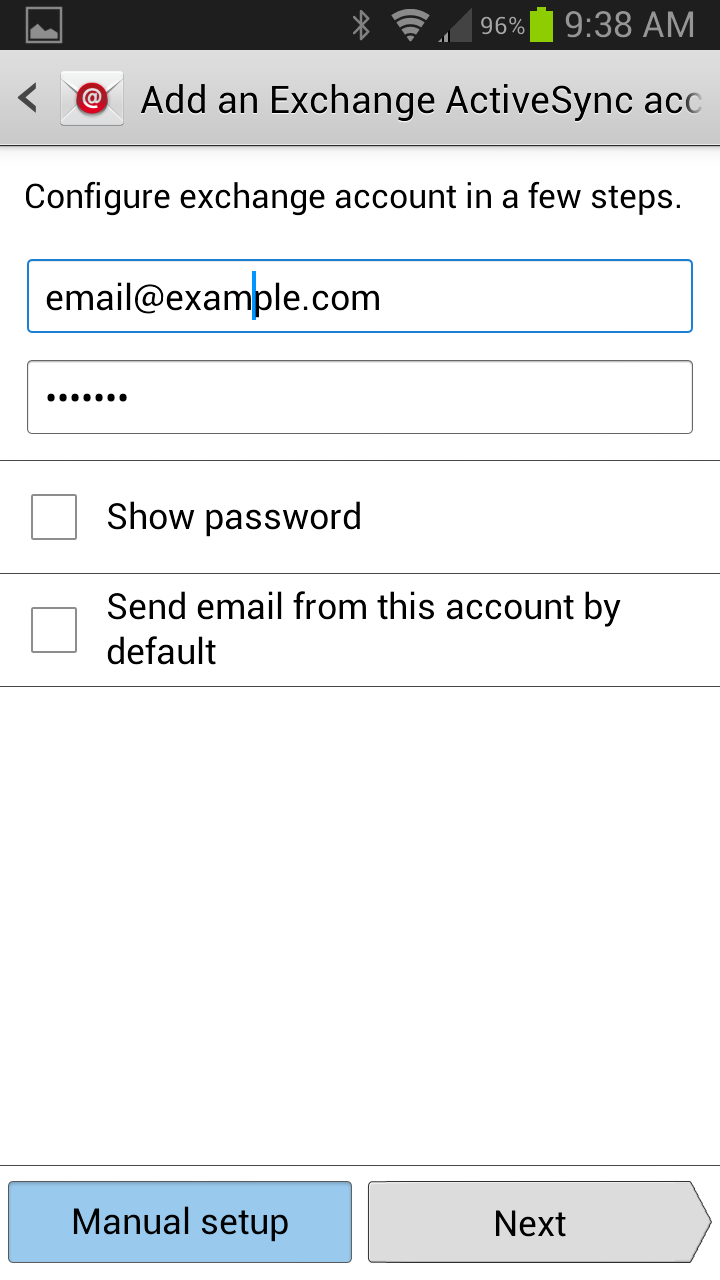
Enter your zMailCloud account settings:
- Email Address: your full zMailCloud email address
- Server Address: yourcustomaddress.zmailcloud.com (if you are unsure what your custom server address is, please contact support@zmailcloud.com)
- Domain/username: just your full zMailCloud email address (no "\" , remove the slash if you can)
- Password: zMailCloud account password (you may check your password is accurate by visiting your web login (https://yourcustomaddress.zmailcloud.com)
You may see this next screen, or the one shown after this. Both are provided as examples.
Option 1.
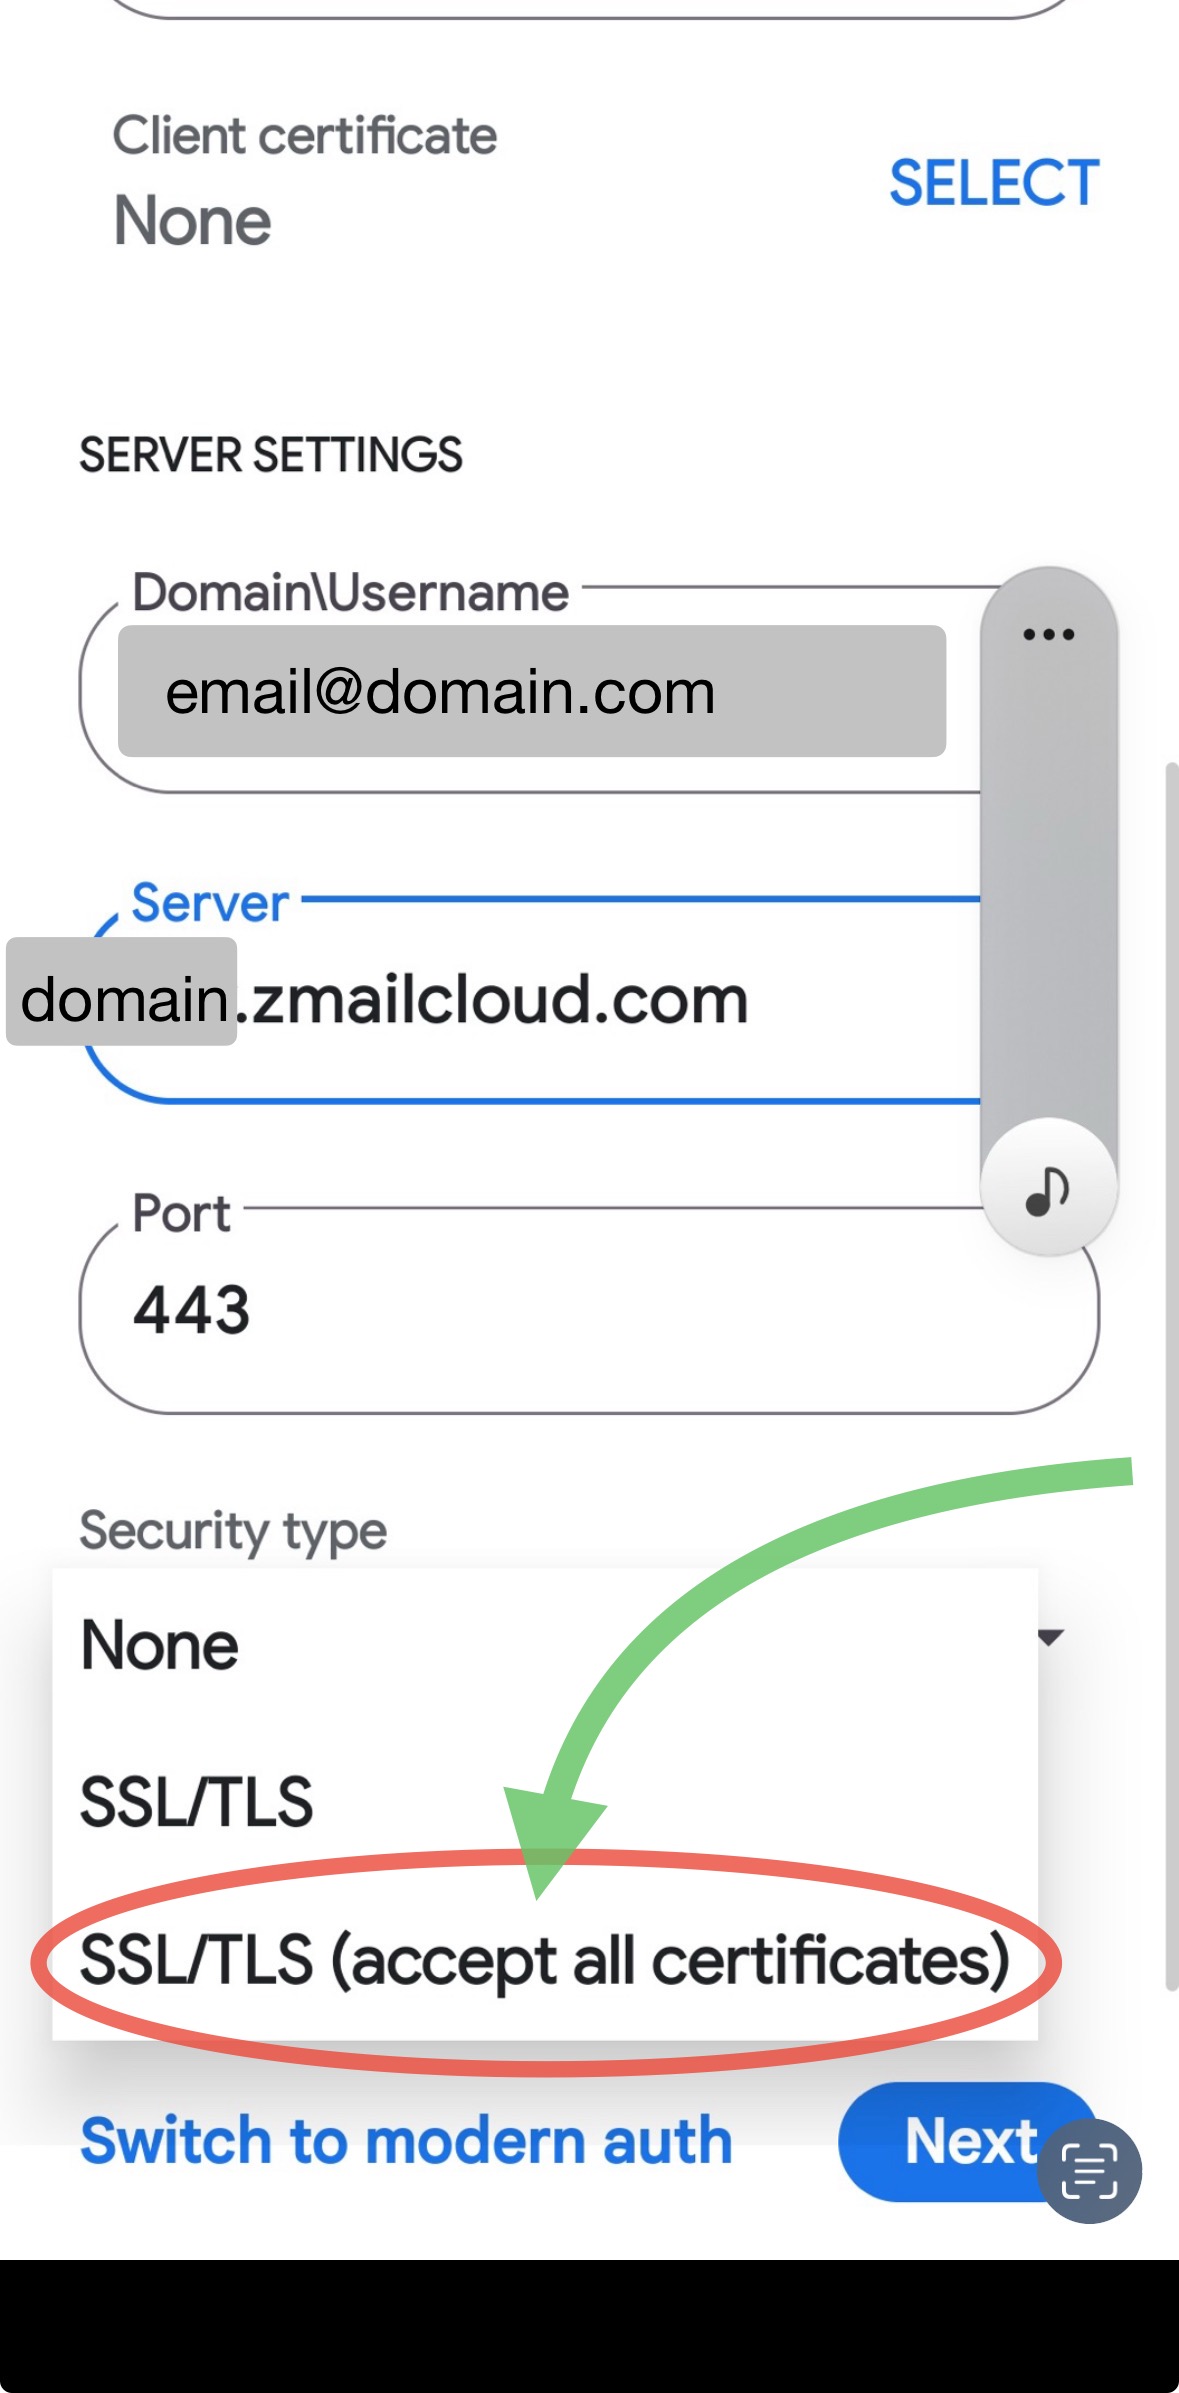
Option 2. Check 'This server requires an SSL connection'
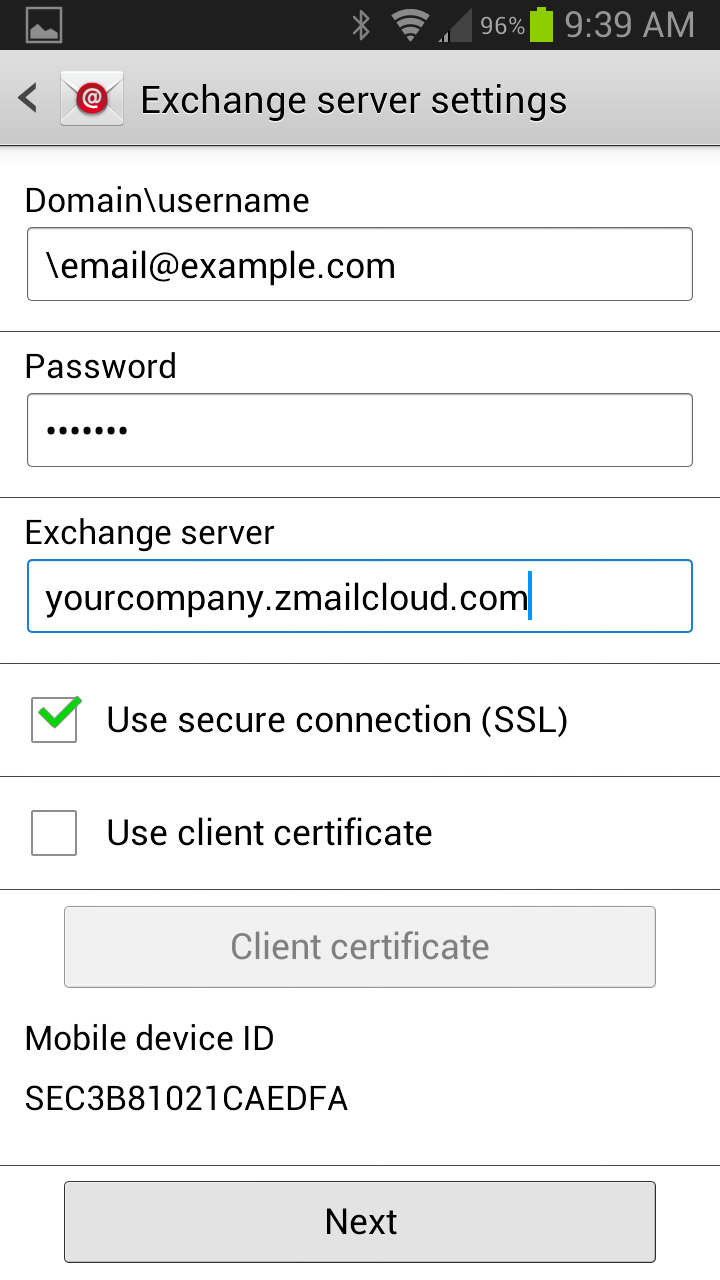
Click 'Next'.
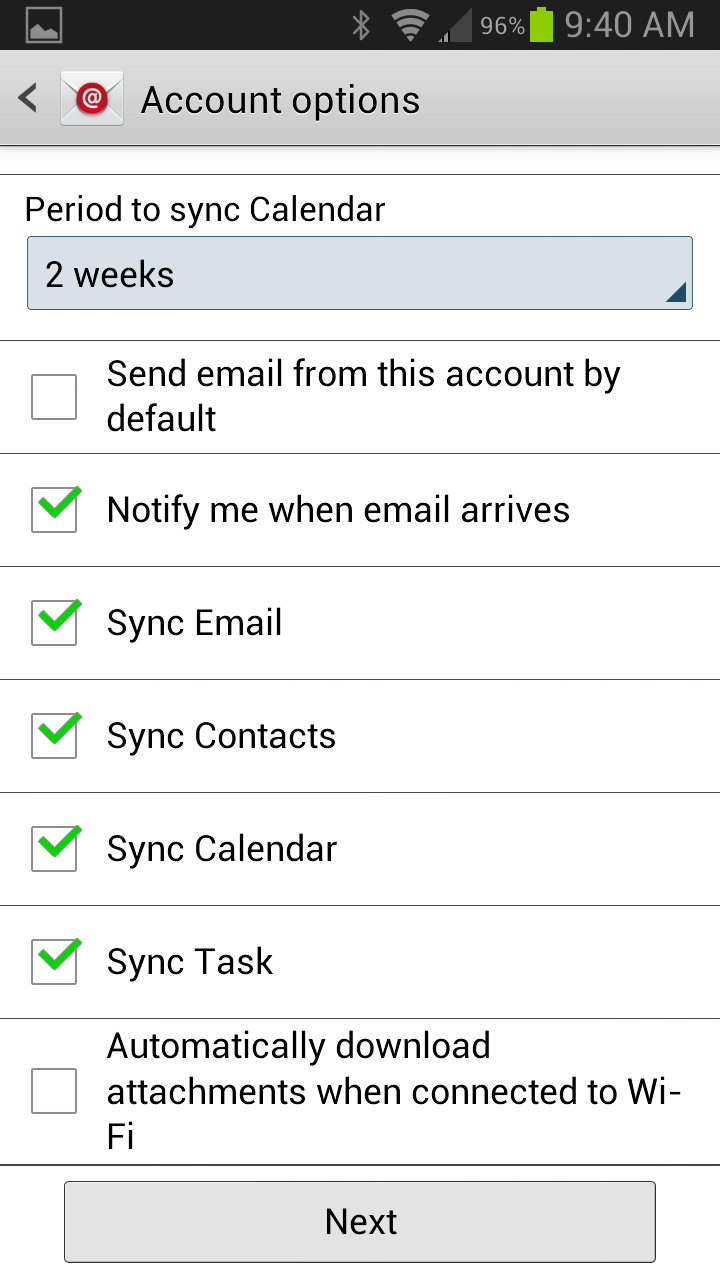
Select the data you want to sync (Mail, Contacts, and Calendar).
Click 'Finish Setup'.
Additional info: Some Android devices require that you must 1st navigate to the web client using your phone's web broswer and accept the security certificate at https://server.zmailcloud.com/ before setting up your account.
Congratulations! You have successfully authenticated your zMailCloud account on your Android device.
If you need any assistance along the way, please create a ticket.
